Creating a Sales Assistant using Power Virtual Agent and Dynamics 365 Finance and Supply Chain
- Get link
- X
- Other Apps
As I continue to learn more and more about Power Platform, I have been intrigued by Power Virtual Agent. However, I have not spent too much time with it because I could never come up with a business scenario around Dynamics 365 Finance and Supply. Whenever I think about a “Bot”, I think about the annoying little boxes that pop up on some websites trying to help me, and I just could not think of how I would use that with D365.
Recently as I was reading through various blogs, I learned I did not need a website to use Power Virtual Agent. I could use the Bot inside of Microsoft Teams. I also ran across an article from Henrik Marx Larsen https://henrikmarxlarsen.wordpress.com/2020/03/13/creating-a-customer-service-bot-for-dynamics-365-for-finance-and-operations-using-power-virtual-agents/ where he created a customer service bot with Dynamics 365. I decided I would try to create a Sales Assistant to quickly answer some common questions that the sales team might ask the accounting team.
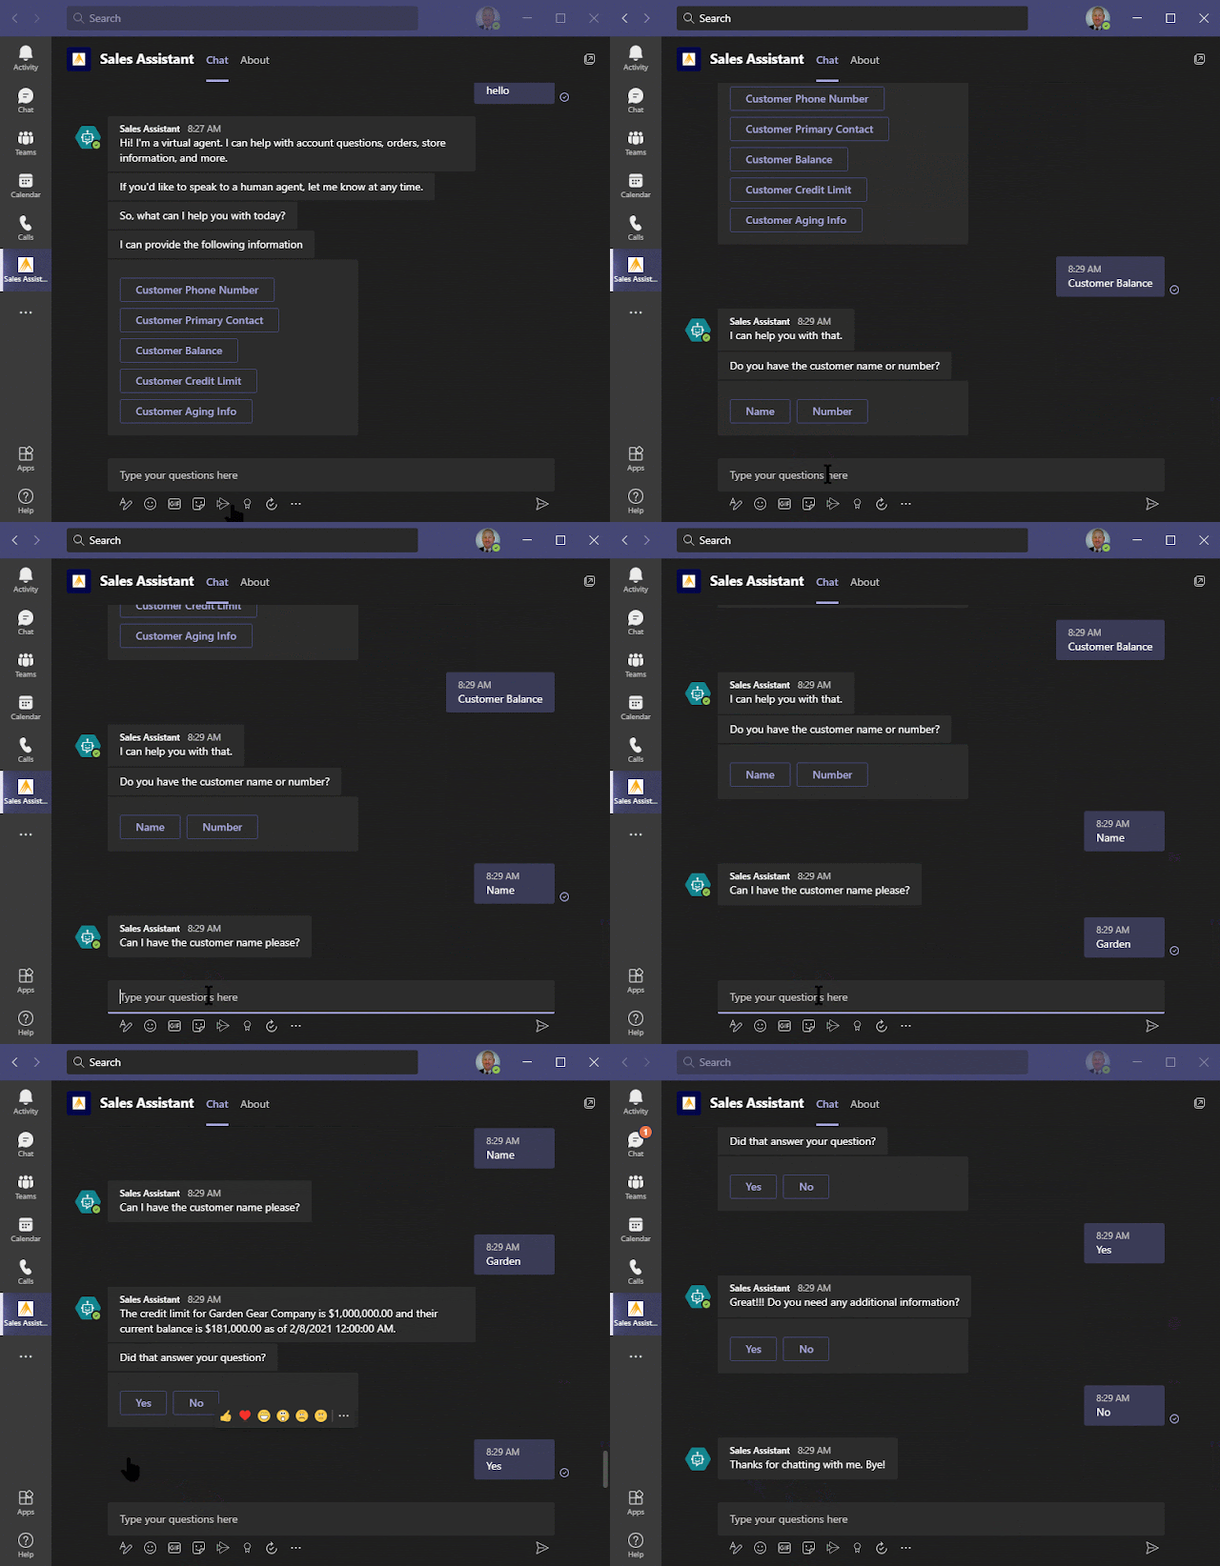
My goal was to create a Bot that could quickly retrieve information about customers from Dynamics 365 Finance, specifically the Accounts Receivables module.
·
Customer Phone Number
·
Customer Primary Contact
·
Customer Balance
·
Customer Credit Limit
·
Customer Aging Information
Now that I understand the topics, I would like the Bot to handle, I am ready to get started.
Getting Started
To get started I created a trial account for Power Virtual Agents at www.powerva.microsoft.com, and created a new bot.
Power Virtual Agents creates the Bot with some basic topics
including a standard greeting. I decided
to start by creating my different topics.
Creating a topic to get information from Dynamics 365
Finance
Step 1 – From topic screen – New Topic
Step 2 – Create trigger phases and description to the topic
Step 3 – Design topic in the authoring canvas
In the authoring canvas you will plan out the flow of the
Bot, including how the Bot will respond, what questions it will ask, and how it
will get the answers to the questions.
A. Enter the message the BOT will return after the trigger phrase
B. For the BOT to answer the question, it will need more information. In this case, it will need the Customer Name, so you need to add a question to ask for the information.
G. The final step of the topic is to close it out. This can be done multiple ways, including a message saying goodbye, a redirect to another topic, or possibly another question.
Step 4 – Design next topic in the authoring canvas
Continue in the authoring canvas designing topics until the
BOT covers the topics required.
Step 5 – Deploy the BOT to Microsoft Teams
After the authoring is complete – be sure to save the
BOT. The next step is to Publish the BOT
Once the BOT is published you can share the BOT with team
member and configure channels. Microsoft
Teams is a Channel.
Simply select Microsoft Teams and turn the BOT in on Teams. This will add the BOT as a channel in Teams.
The BOT is now available for you to open in Microsoft
Teams. To share with other team members,
it will need to be submitted for admin approval.
- Get link
- X
- Other Apps


Comments
Post a Comment